Locate critical cooling regions in plastic parts
This example shows you how to inspect the thermal results of your job to locate the critical regions to cool on your plastic part.
A solved channel assessment job.
- From your projects list, select a project with a solved job to open it.
- From the jobs list, click a solved job to display its results.
-
Click Results to open the results page.
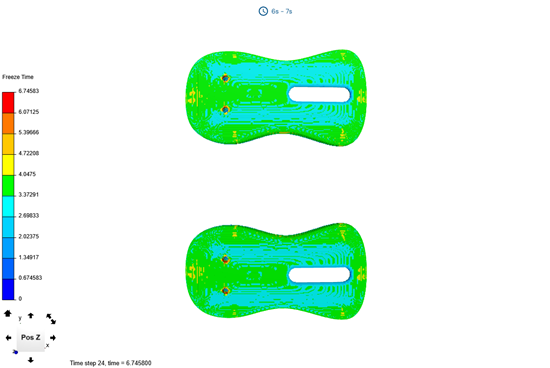
The display window shows the freeze time distribution on your plastic part in seconds.

-
Use the model manipulation tools to rotate your model to inspect the freeze
time distribution on your plastic part.
-
Visually locate a region with high freeze time value and click it to display
its local result.
-
Click
 to close the local result window.
-
On the Display Mode panel, select Filter
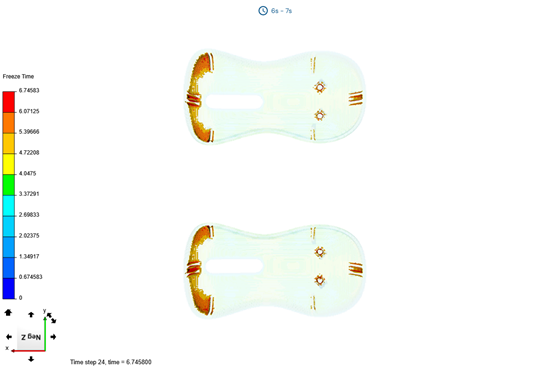
Plastic, then move the slider to select your target cooling
time. For example, 5s.
The application displays areas of the plastic part where the freeze time exceeds the specified value. This helps you identify regions that require longer cooling.

-
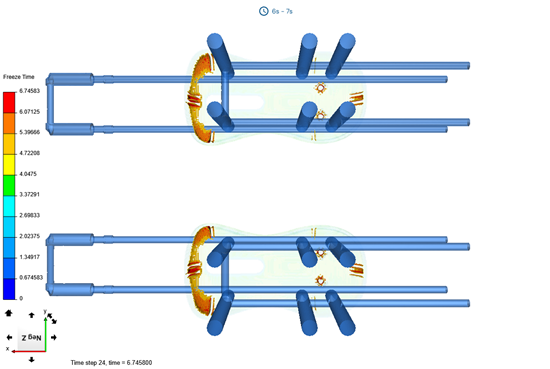
Select the Channels check box to display the cooling
channels and inspect the channel positions relative to areas with high freeze
time.

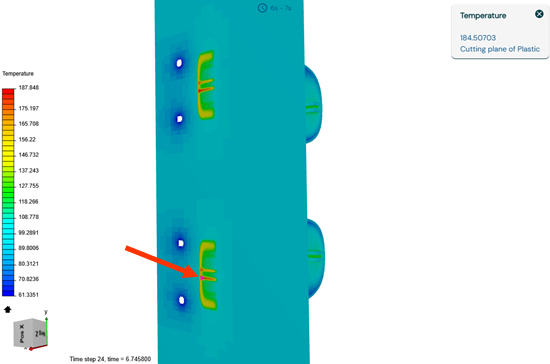
- From the Results list, select Plastic Volume to display the temperature distribution on the plastic part volume.
- Select Cutting Plane.
-
Select the cutting plane direction, for example,
X.
You can invert the cutting plane direction if needed by selecting the Invert check box.
- Select the Show Mold Temperatures check box to display the mold temperature distribution on the cutting plane.
-
Use the model manipulation tools to rotate your model and zoom in to have a
closer look inside your plastic part.
- Move the slider to change the cutting plane position to identify the regions with high temperatures.
-
Select a region with high temperature in your plastic part to inspect its local
result.

