Defining mold properties
Defining mold properties based on your analysis type ensures that the SimForm solver correctly identifies the mold components in your CAD model and considers their material properties in the thermal analysis.
Defining the mold for a channel assessment job
When you set up a channel assessment job with the basic mold mode disabled, you upload the CAD files of your model design, which include mold components such as the mold core and cavity, plastic parts, sprue bushing, and ejector pins. You must identify and define materials of all mold components in contact with the plastic by assigning them to a mold group in the right panel. This ensures that the solver correctly identifies these components as molds and considers their material properties in the thermal analysis. Components that you do not categorize are excluded from the analysis, thus removing a cooling source that can distort temperature results and cooling time estimation.
- Material properties. For example, use one mold group card to identify inserts with different materials, such as beryllium copper, and another to identify parts with the same metal material. This allows you to use molds with different materials.
- Roles. For example, use different mold groups to separate moving and stationary components or to categorize parts by function, such as defining the core and cavity components in separate mold groups. This categorization allows you to view and analyze the thermal behavior of each group separately.
By default, a new job contains one mold group, but you can add as many as you need.
Defining a basic mold
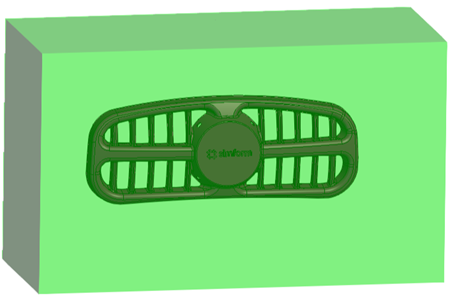
When you set up a job in a channel assessment job with the basic mold mode enabled, the solver generates a rectangular mold with one material around your plastic part to identify the hot areas in your plastic part that require cooling during the initial design phase, before designing the mold.

Use the basic mold card to define the basic mold dimensions and material properties.
Defining the mold for a feasibility job
In a feasibility analysis, you only define the mold material. The solver assumes a well-designed mold made of the selected material around your plastic part and evaluates its effect on part quality to determine an efficient cooling time and temperature distribution.
Defining mold materials
You can choose the material from a list that contains widely used materials for mold cooling applications or define a new material that helps you to meet the specific needs of any plastic molding project.
You can add a material manually one at a time or upload a CSV file to import multiple materials at once. You can also copy the properties of a material to modify them. The added materials are available for selection in all future projects from your account and all added users within your company account.
| Physical Property | Unit |
|---|---|
| Density | kg/m3 |
| Thermal conductivity | W/(m·°C) |
| Specific heat | J/(kg·°C) |
You must ensure that all values are provided in the required units. You may need to convert units if necessary. You can find these properties from the material supplier or databases.
When you import multiple materials, your uploaded CSV file must follow a format similar to the following example:
"Name","Specific Heat","Density","Thermal Conductivity"
"Beryllium Copper","380","8250","105"
"Nickel Alloy (NiCr)","460","8900","11.2"
"Tungsten Carbide","250","15400","84"
You can also download the added materials as a CSV file to share within your organization or upload to a SimForm project when needed.
