Locate critical cooling regions in plastic parts
This example shows you how to inspect the thermal results of your job to locate the critical regions to cool on your plastic part.
A solved channel assessment job.
-
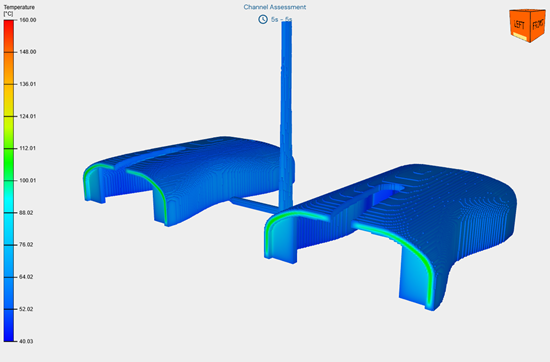
Click Results to open the results page.
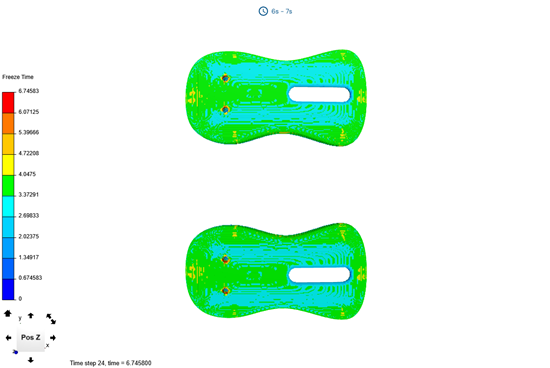
The display window shows the freeze time distribution on your plastic part in seconds.
-
Visually locate a region with high freeze time value and click it to display
its local result.
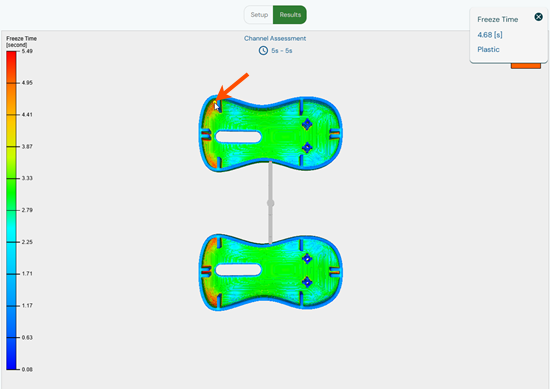
You can use Ctrl-click to select and inspect multiple points in your model. -
Click
 to close the local result window.
-
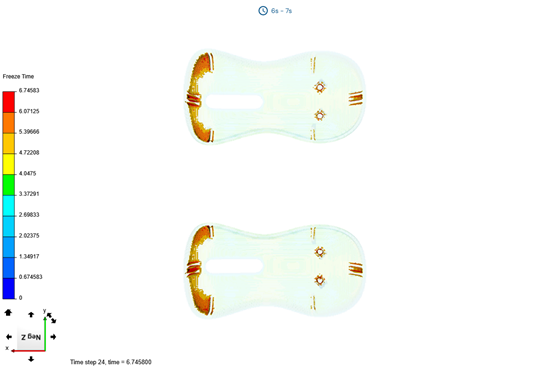
On the Results panel, turn on the
Filter toggle, then adjust the range slider to select
your target cooling time range. For example, from 4 s to 5 s.
The application displays only the areas of the plastic part within the selected range. This helps you identify regions that require longer cooling.
-
Turn on the Channels toggle to display the cooling
channels and inspect their location relative to areas with high freeze time.

-
Rotate your model and zoom in to have a closer look inside your plastic
part.